Thursday, April 11, 2013

Agua Caliente County Park


Take in a deep breath of clean, dry air. Bask in the larger-than-life brilliance of the desert sun. Sink into the womblike comfort of warm spring water. At Agua Caliente Springs you can have your cake and eat it too- hike first, then enjoy a relaxing soak in the hot springs.

A county park has been established here in the midst of state park lands on the edge of Tierra Blanca Mountains. The big campground and nearby store, along with the pools, have made Agua Caliente Springs a focal point of activity in the southern Anza-Borrego area.

A splinter of the Elsinore Fault is responsible for the upwelling of warm, mineral-rich water. The Elsinore Fault passes through the Lake Elsinore area and Warner Springs, were hot springs are also found. There are three options for soaking at Agua Caliente Springs: a large indoor jacuzzi, where water is boosted to more than 100 degrees, a shallow 2 1/2 foot  wading pool for the kiddos, and a deeper 5 1/2 foot pool that's perfect for cooling off on warmer days.

Agua Caliente Springs lies off Highway S-2, 27 miles northwest of Interstate 8 at Ocotillo, and 22 miles southeast of Highway 78. 

Enjoying the day-use area and playing horse shoes.

Relaxing around camp.

Nap time in grandparent's tent.


Time for a stroll around camp.

My wife's brother, parked next to us.


My wife's uncle brought out his Jeep so I was bummed to not have mine.

The campground recently started putting in new cabins.

This was the RV/hookup area.

Hanging out with Aunty.

I didn't get a chance to hike this trail. Hopefully next time.

Random bench in the desert.

I'm just a desert hobo.


I was up early the next morning to hike a nearby trail.

A bunny stops by to say hi.

The wind had blown like crazy last night.


This was the beginning of Squaw Pond Trail near the park's entrance.  


You wind over a low ridge, passing a spur trail leading to an overlook point a little higher on the ridge, then descend to a sandy wash in Squaw Canyon.


Turn left here and make your way past thickets of mesquite- vibrant green when leafing out in March, and festooned with creamy yellow-green flower spikes April through June.

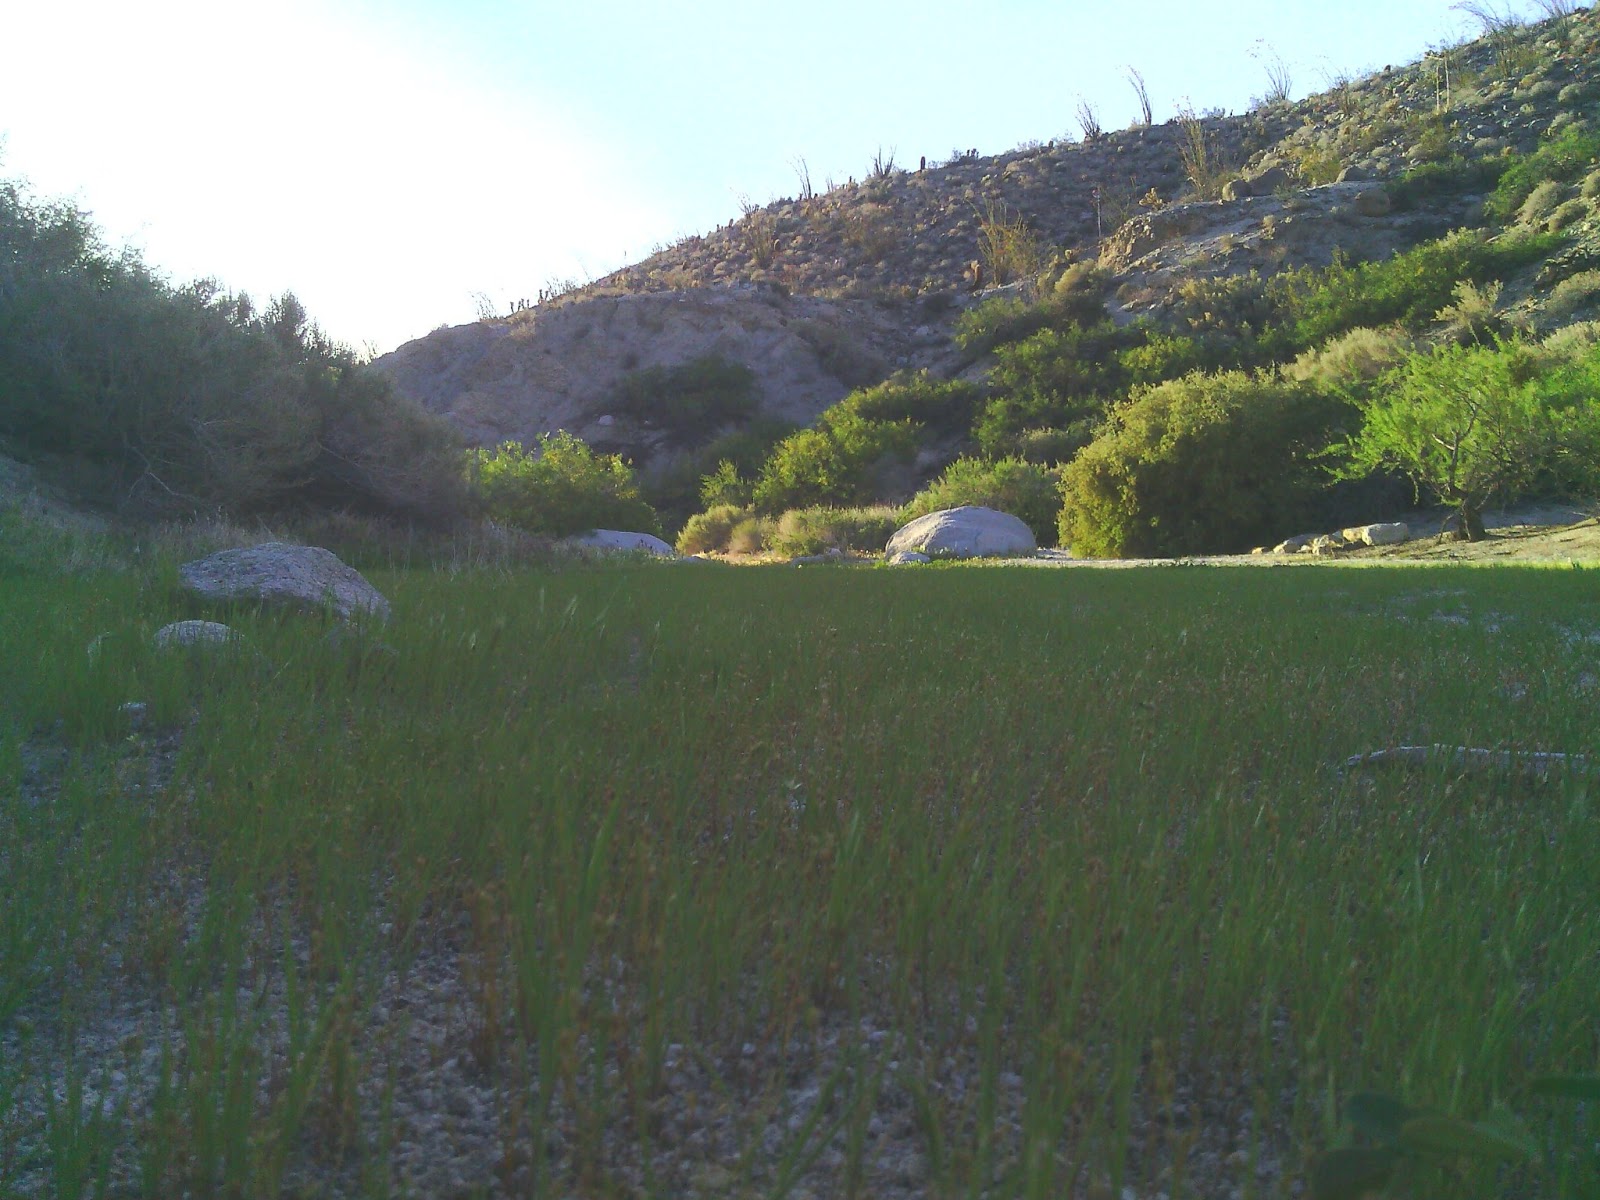
The nutritious pealike pods of the mesquite ripen in September, and are eaten by various animals. Ahead lies Squaw Pond- a marshy area with several large willow trees and some small palm trees. 


The path get narrower as you approach the trees.


At least one rattlesnake makes a living on the small furry creatures that come to drink here. Coyotes and bobcats also frequent this little oasis.


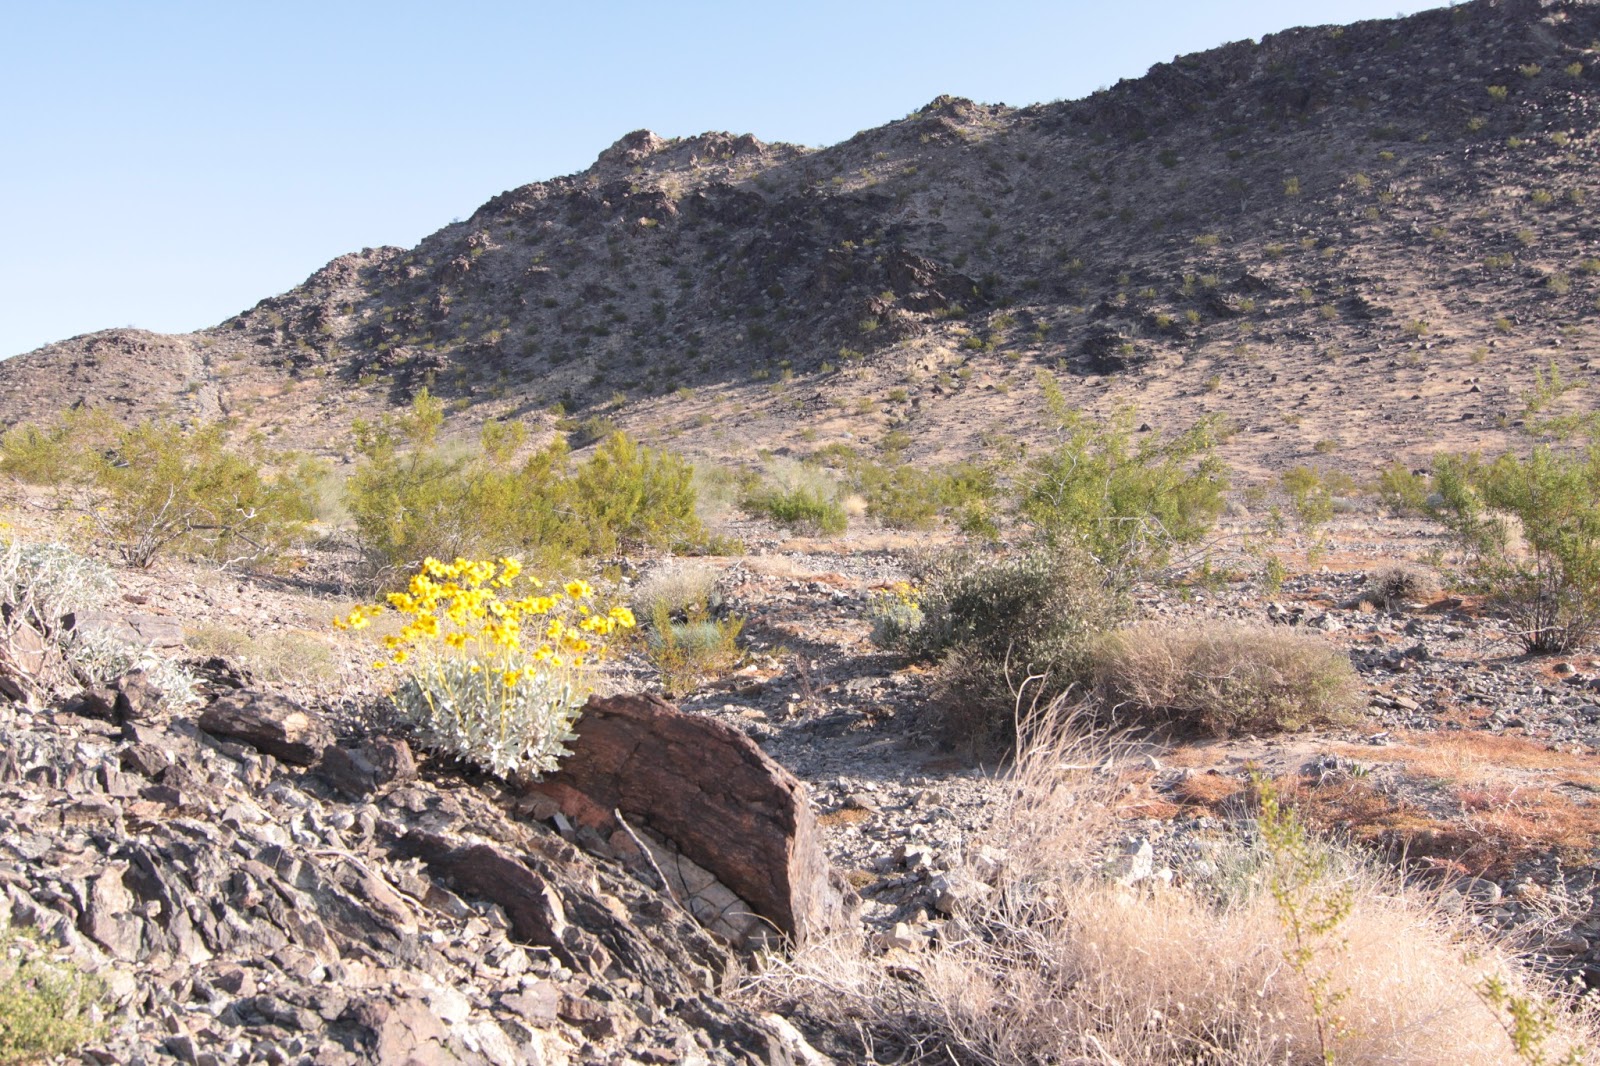
On the nearby hillsides you can admire the natural gardens of barrel and teddy bear cholla cactus.
  
There's really no pond per say, just an intermittent stream that you follow.


Almost back to camp.

After breakfast it was time to pack up.

 Are we ready for another dip in the pool?


Good times with family.

After a quick dip in one of the cool outdoor pools we finished loading up the car and started making our way back home.

On the way out we made a stop at the Carrizo Badlands overlook. Hopefully we can get in one more trip out into the desert before the heat gets turned on full time.

Monday, March 18, 2013

SoCal Desert Rendezvous 2013: 33°35’58.13″N 115°32’13.31″W


The SoCal Rendezvous Conspiracy is a free event, held each year since 2011 and  put together by a group from the Expedition Portal forums and led by Dave Bennett, (Tacodoc).  In addition to the Saturday evening potluck, there were donated raffle prizes, free decals and t-shirts. The group’s main objective is to plot to meet at a remote location at an agreed upon time to hang out with fellow adventurers.  I would like to express my appreciation and gratitude to all the volunteers and sponsors of the third annual 2013 Desert Rendezvous. Thank you all! 

Since this was to be our fist camping trip of the year, we were exited when March finally came around and looked forward to attending SoCal Desert Rendezvous 2013, especially since I had missed both the 2011 and 2012  Desert Rendezvous. A fun aspect of this event is that the attendees don't know the location of base camp until it is revealed about a week before, as a set of GPS coordinates in the middle of the desert. Beforehand, we only knew that's it was going to be somewhere in the Southern California desert, east of the Salton Sea, west of the Colorado River, and north of the Mexican border.

SUPER SECRET LOCATION:
Google Earth cut and paste: 33°35’58.13″N  115°32’13.31″W
Google Maps cut and paste:   33.599581,-115.536937

We headed out a bit later than planned around 8:30AM Saturday with about 193 miles ahead of us. Our route took us north on I-15 to CA79 North through Hemit. Soon we were heading East on I-10. We eventually exited the freeway and made our way south on dirt roads to the site coordinates, just off the Bradshaw Road. The area was packed with off-road vehicles including Jeeps, Ford and Dodge pickups, Sportsmobiles, Toyota Tacomas, Land Rovers, and Toyota Land Cruisers, to name a few. It looked like we were in good company. Soon we were greeted by old friends and found a spot to set up camp for the weekend next to Steve, his two dogs, and Lexus LX450. 

After setting up our tent, shade canopy, chairs, and table it was time to mix up some drinks, chat with a few like-minded adventurers, and relax. After a bit, folks started showing up with trash bags and other refuse from the desert clean-up. The raffle was also a big hit with everyone gathering around in hopes of scoring some cool prizes. Afterward, the potluck and dutch oven competition got kicked into high gear. My contribution consisted of bacon-wrapped cheese-stuffed jalapenos. I tried to put a little bit of everything on my plate. I was full in no time. After enjoying some real fireside chat for a while, I began to feel the affects of a full belly and getting up at the crack of dawn earlier that day. Our daughter was getting cranky and tired so we were soon off to bed in our tent. I also kept an eye out for snakes. Apparently that night before, a small rattlesnake had curled up under someone's chair near the fire pit.

Sunday morning I was up with the sun and enjoying my coffee while reading the latest issue of Overland Journal. By the time my wife was out and about, the wind had really started to pick up. I had just started trying to get breakfast going when the dust, sand, and wind became too much to deal with. So much for taking my time and having a relaxing morning. The desert was kicking us out! 

Although I could have stayed out in the desert for the rest of the week (in a more wind-sheltered area), I needed to get my family back home. It was great to have a completely free event where people could come and hang out for a weekend with like-minded folks, get a free t-shirt and decal, show respect for the land by cleaning up the area, and enjoy a great potluck and campfire.

As we had a long drive home ahead of us, we quickly packed up the best we could in the wind, said our goodbyes, and rolled out. We took a different route home, heading South on CA86 from I-10, then West through Ocotillo Wells and Anza-Borrego Desert State Park along CA78. We are looking forward to getting out into the desert again soon!


Photo by Brent Haywood

Tuesday, February 26, 2013

18 Gallon Dirt Planted Aquarium

I finally decided to do something with an 18 gallon tank I've had sitting outside for a while. I wanted a really nice looking planted tank. I've been keeping fish for some time now but could improve my knowledge and skill in keep healthy plants. After much research, I decided on using dirt (organic potting soil) as the base substrate in the tank. 


I put together a series of videos showing my progress. The above photo shows the finished product. I'll update as the tank progresses. In time, I'll be doing the same thing with my 29 and 55 gallon tanks. 


How to Set Up A New Dirt Tank
Here is a step by step generalized process post with a few different options you can use. By no means is this the "be all, end all" but it will give you a good idea of what you plan to do. There are many different ways and methods of doing this. 

The Plan:
Get a sheet of paper, draw out your tank, from an above view and front view. Draw in a rough key or where you want what items, plants, and equipment. This will give you a good idea of how you plan to set your tank up. Worst case, change a little later. Find a layout YOU like. A good way to start is to pick plants to hide your heater, filter intake, and cords. If not, not a big deal. Make a list of plants you want, which you have, and which you need. Then make a stocking list of fish you want, and which order you will get them in (algae control last).

The Equipment:
Got your plan done? Okay, now go get your equipment. To set up the tank you will really only need a few things that are mandatory:
1. Aquarium (with lights)
2. Dirt (Miracle Grow Organic Potting Mix seems to be the dirt of choice, but any organic/top soil works)
3. Gravel or Sand (if you use gravel, try to stay with finer types)
4. Water Dechlorinator

Optional Equipment at time of set up but will ultimately be needed:
1. Clay or Flourite pieces (or any root fert tabs you may want to use, all are matter of choice)
2. Heater
3. Filter (or power head in rare cases)
4. Airstone, Co2, Ferts, Misc.

The Set-Up!

1. Rinse the aquarium with tap water to ensure no dust or anything is in it.
2. Set it up on a sturdy, level surface near outlet.
3. Add in your choice of dirt (about 1 inch thick is all that is needed)
**Note- Some people choose to slope the dirt up from front (1/2 inch) to back (1 1/2 inch) so that taller stem plants may have more root space. Strictly matter of opinion.**
4. If applicable, add in whatever pieces of flourite, iron, or fert tabs you have generously to the soil.
5. Slowly spray/sprinkle the soil a bit, then stir it up, add more water, stir...repeat until a VERY thick mud. **Note-You should see NO puddles of water on top of the soil. If added too much water, or even for a precaution, let the dirt sit for an hour to soak any water up.**
6. Once the dirt is the consistency of thick mud, add in whatever substrate you will be using to cap the dirt (I.E- Gravel, Sand, Ecocomplete, Etc.). Add the same amount of substrate as there is dirt.
**Note- Example; If 1/2 inch of soil in front, add 1/2 inch of gravel...if 1 1/2 inches of soil in back, add 1 1/2 inches of gravel**
7. Place any driftwood/rocks/heater you have in the tank.
8. If siphoning in water from an outside source, use airline tubing and knot the tubing so the water siphons very slowly. If pouring in water, put a heavy plate (that doesn't float) on the bottom of the tank on top of the gravel or sand and begin pouring slowly onto the plate to not stir up substrate.
9. Once filled half way, plant heavily... being careful not to disturb TOO much soil from under gravel/sand. Taller plants in back, medium in middle, short in front.
10. Use a small net to net any loose pieces of dirt floating.
11. Finish filling slowly (Don't forget to dechlorinate). Once finished the tank should be a little cloudy but should be ready for a filter. Let the tank sit until most of the debris has settled (if any) and start filter.
12. Add rest of equipment, lights, etc. Watch it grow!!

At this point, if done right, your tank should be ready to rock. With a few water changes your tank will be crystal clear. You can begin your nitrogen cycling for the tank, or wait to add fish. The soil should sustain nutrient and co2 output for the plants for a while without fauna. By no means is this the ONLY way to do it. Some add peat to the bottom of the soil. Some soak dirt for weeks. Some mineralize the soil before adding to tank for months. So many different ways to do it. This is the simple way to start it.